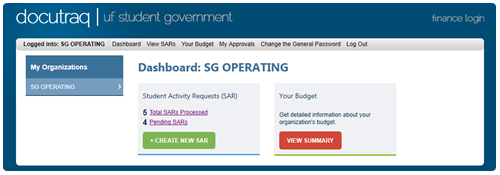
Step 1: To create a new SAR, click the green "Create New SAR" button on your dashboard.
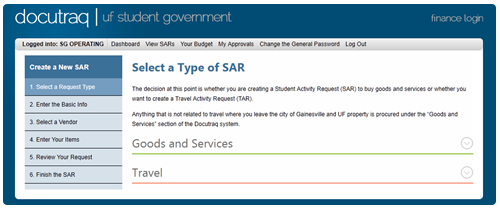
Step 2: Select the type of SAR.
Remember: Travel SARs are only if selected organizational members are going to travel. These trips must be budgeted in your organizational budget and approved before the Budget and Appropriations committee.
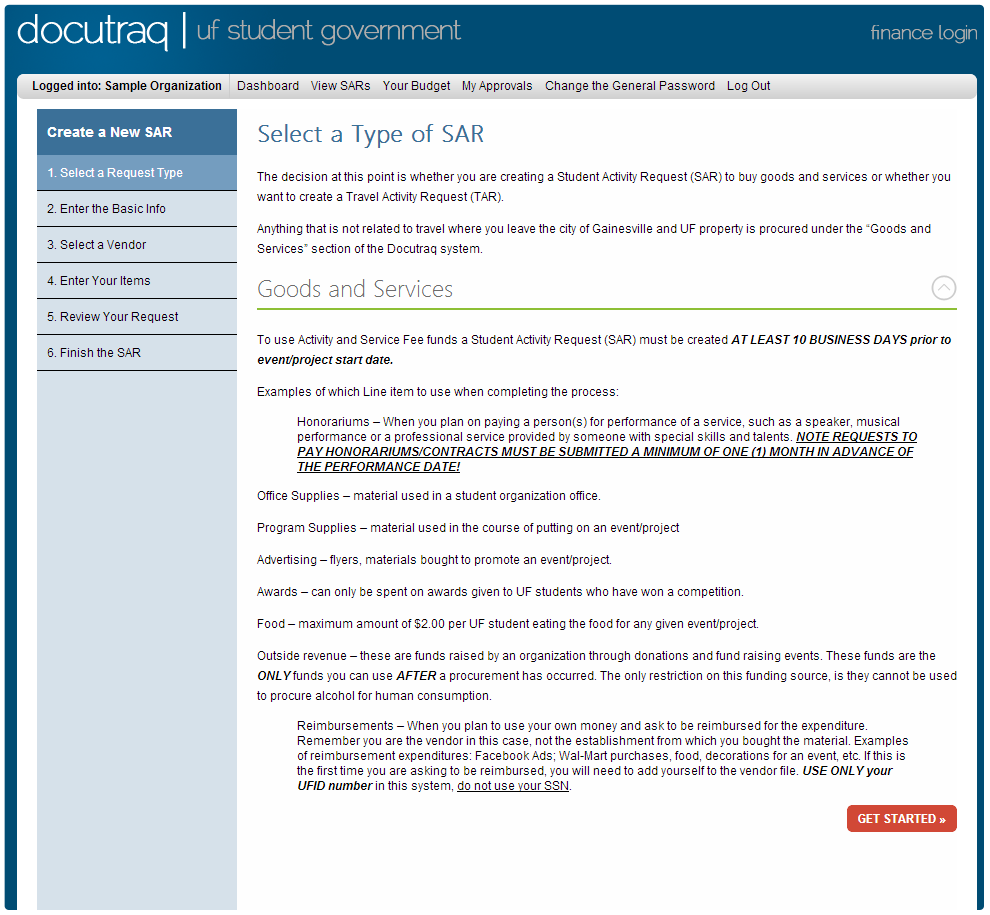
Step 3: Once you select a type of SAR, a drop down with information will emerge. Please read the information as it contains important tips and guidelines according to the type of SAR that you will be submitting. Adter reading the information, go ahead and click "Get Started".
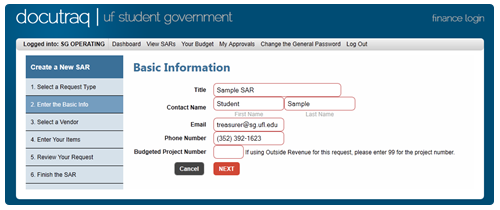
Step 4: After clicking "Get Started" you will then be taken to the information page in which you will input the contact info for the SAR. Please remember that whoever is listed as the contact person of the SAR will receive all notifications of the process of the SAR and will be contacted if our office has any questions regarded the SAR submitted. Once you have entered all the information, please click next to continue.
Step 5: Next you will see the vendor selection page in which you will select the vendor from the system that you will be purchasing or acquiring your goods and/or services from. If the vendor for your SAR is not in the system, please select "Add New Vendor" and add them.
Note: Please be aware that you will need the vendor's name, address, phone number, email and their UFID.

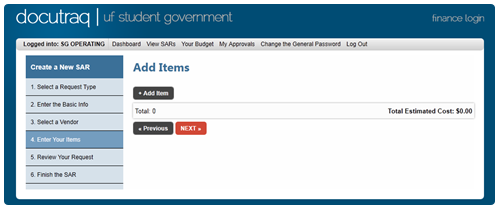
Step 6: Once you have selected your vendor, you will be able to add the items you wish to purchase on your SAR. To do this:
1. Click "Add Item"
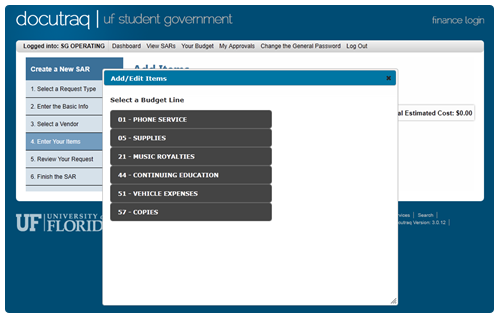
2. Next, you will see the different budget lines that you are budgeted for that you can buy your items from. Once you know which line you will be using funds from, go ahead and select it from the menu.
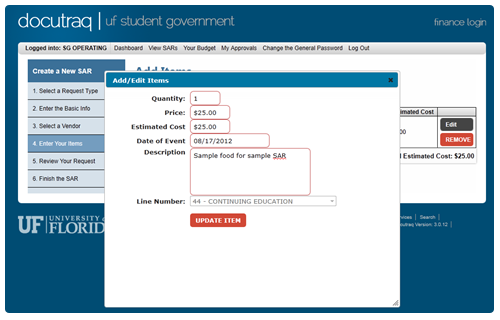
3. Once you have selected your line, you will then fill out the information for what you will be purchasing. Make sure you fill out every box because if something is left out, the system will let you continue with the SAR. Once you have finished, click "Add Item".
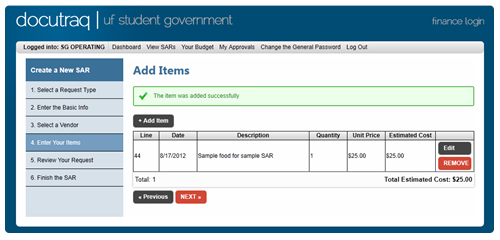
4. Once you added your item you will have the option to either add another item in the same line. Once you have added all the items you wish to add in that line, click the next button to review your SAR before submitting.
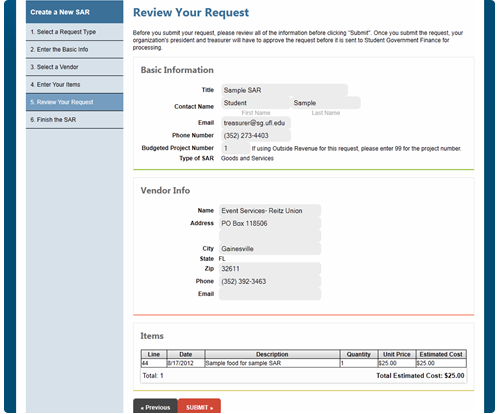
5. The last page you'll see before submitting your SAR will be the review page where you can do a last minute check on all the information. Once you have reviewed all the information, click submit to submit your SAR.
6. Congratulations! You finished an SAR. You can now view a PDF version of your SAR to keep for your records. We highly recommend you either saving it or printing it just in case any problems should arise in the future.
